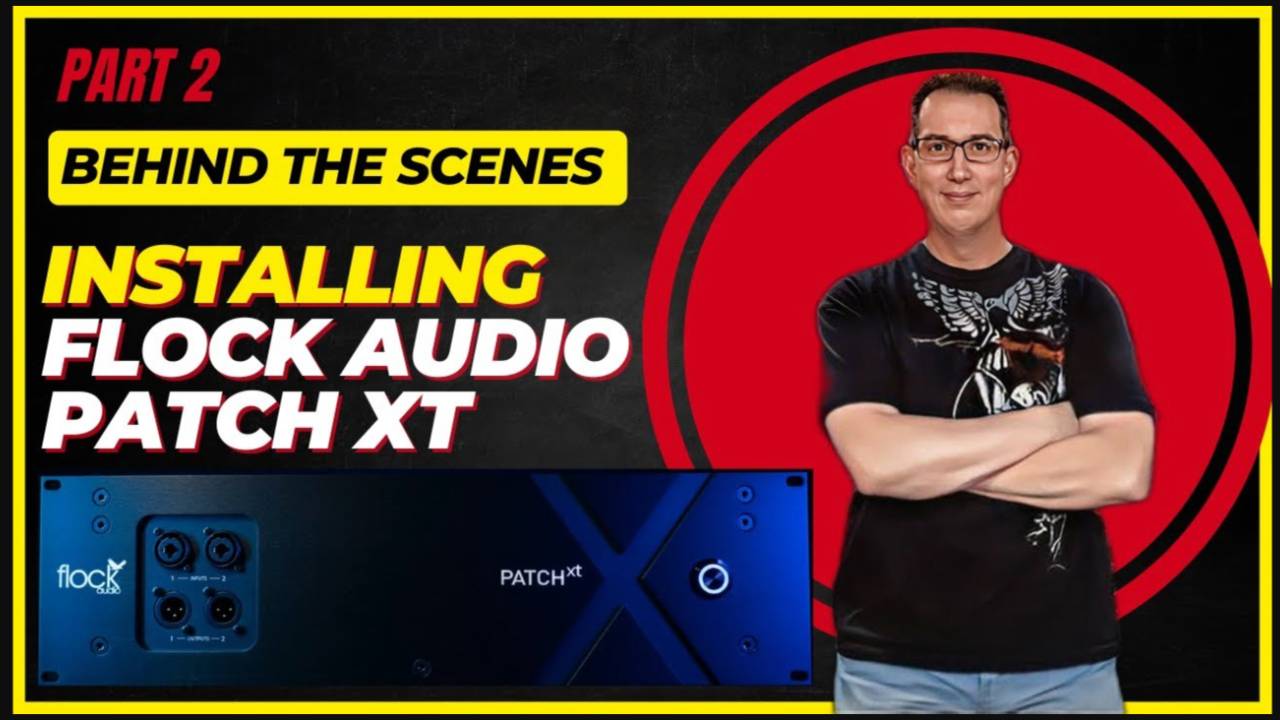
Behind-the-Scenes with Flock Audio: Revolutionizing Your Studio Setup
Welcome, music enthusiasts and audio engineers! Today, we're diving deep into the nitty-gritty of setting up the Flock Audio interface in our studio. Join DavidSJ, and myself on this installation journey, where we'll tackle challenges head-on and share valuable insights meant to enhance your mixing and mastering experience.
Introduction to Our Flock Audio Install
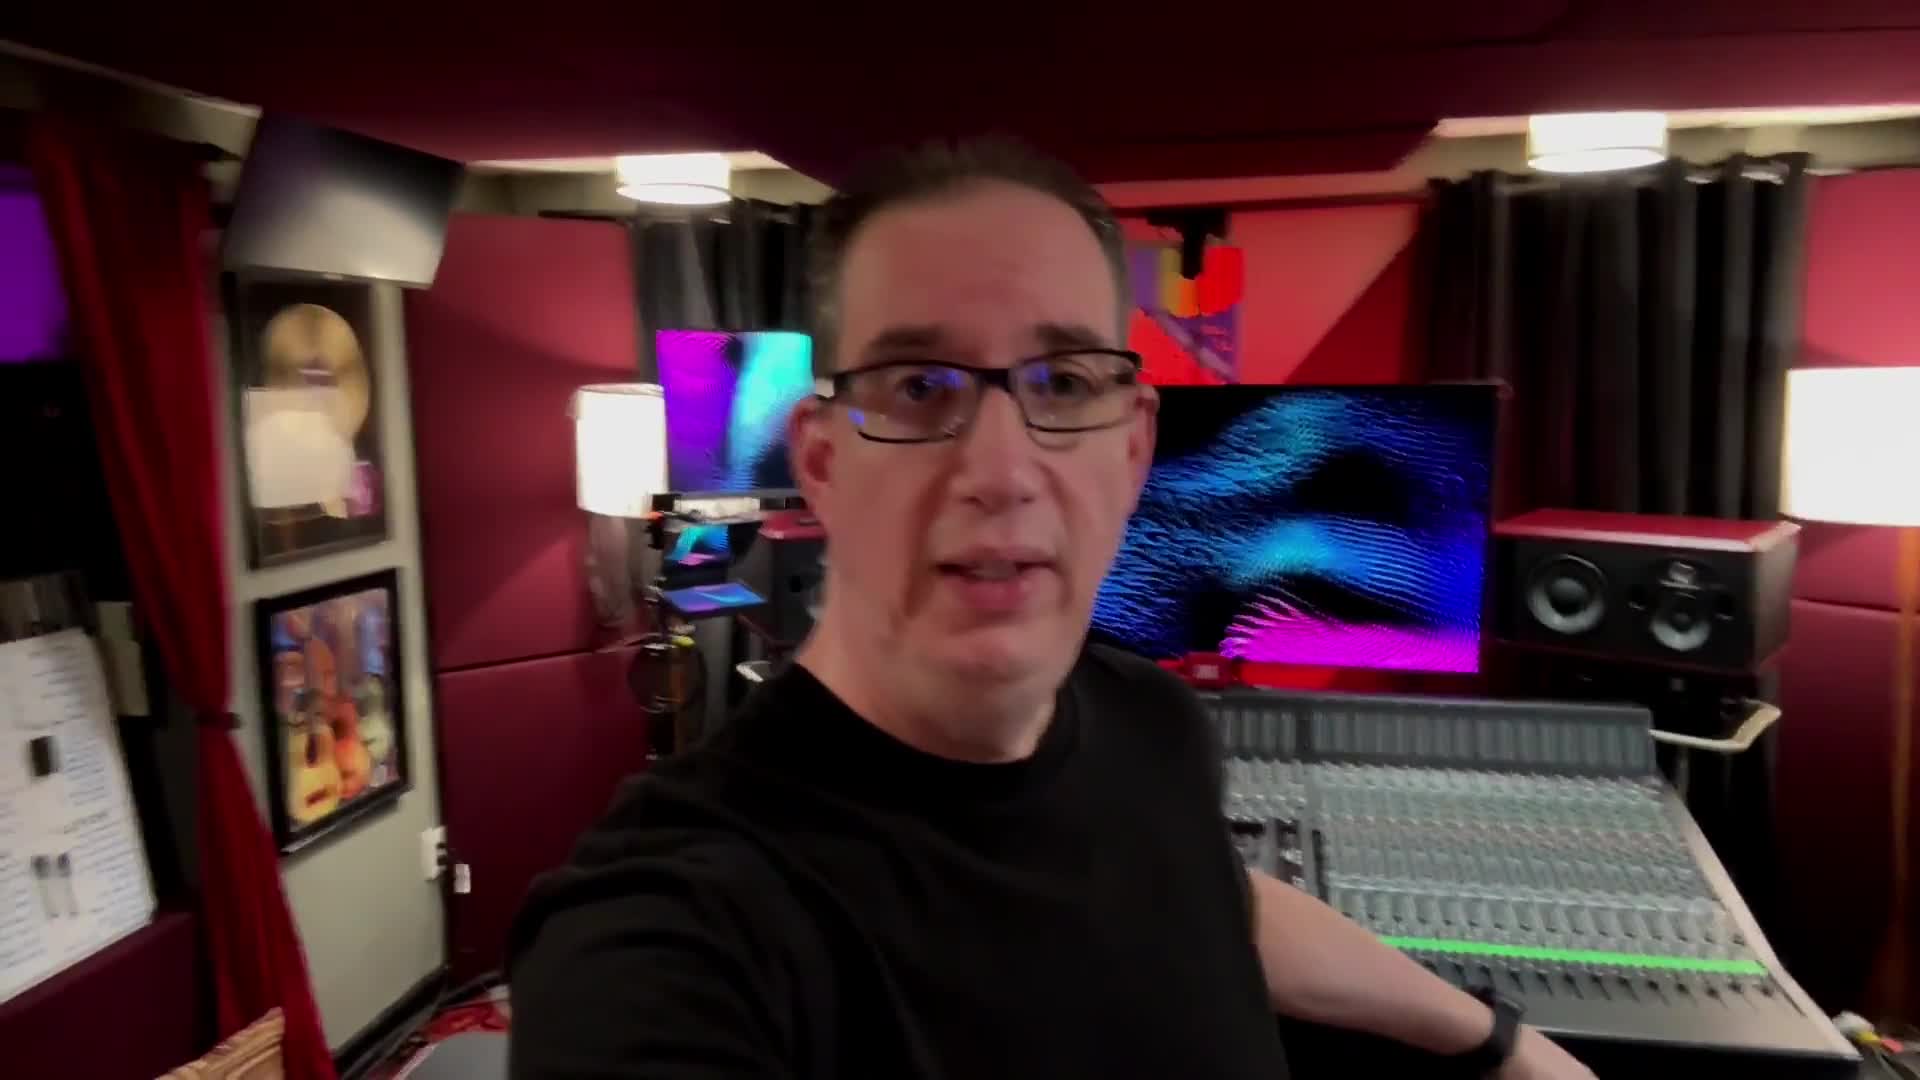
With DavidSJ by my side, we're about to embark on our latest studio project—installing the Flock XT. If you're familiar with our channel, you know we value authenticity and practicality, which is why this video is recorded entirely using an iPhone, capturing our process in a guerrilla-style format. This behind-the-scenes look is aimed at providing real-time solutions with the urgency that comes from having limited time, as Dave visits for just a few hours.
Capturing Moments: Why Guerilla-Style Works
Why We Choose iPhone Recording
Given our time constraints, setting up an elaborate shoot with professional cameras and perfect lighting wasn't feasible. Instead, we utilized the simplicity of an iPhone to give you an honest, raw view of our process. As many of you have seen in previous videos, this approach perfectly aligns with our hustle during urgent installs.
Beyond Professionalism: The Value of Candidness
Recording this way helps you, our audience, connect with the authentic experience—mistakes and all. It's not always about polished, edited content but rather about bringing you along for the journey and sharing insights that can help improve your audio setup.
Initial Steps: Unboxing and Planning
Setting the Stage
Before David's arrival, I took some time early in the morning to prepare the studio, unbox the Flock XT, and begin planning the setup. Our starting point was a simple tabletop setup with a temporary rack I purchased from Sweetwater. This gives us the flexibility we need to figure out initial connections and placements without a permanent commitment.
A Peek Behind the Patch Bays
One of our first tasks was to assess the current state of our patch bays—a chaotic web of cables, according to some. To streamline this process, we started with simplicity, disconnecting non-essential gear to focus on the core setup.
"Going simple keeps things manageable initially and allows us to analyze 'what works' before diving into the complete rewire."
The Logistics of a Large Setup
Calculating I/O Needs
The Flock XT promises 96 in and out, with 192 total patch points. Our goal is to optimize this new setup, incorporating ample hardware and SSL channels while leaving room for expansion. It’s an intricate dance of counting cables, managing inputs, and ensuring every piece of equipment seamlessly integrates.
-
48 channels for the SSL console
-
Remaining channels for external gear
-
Planning for future expansions, like the Fairchild emulator
Strategic Decisions and Constraints
Faced with logistical challenges and limitations, such as insufficient I/O, we made strategic decisions to prioritize certain gear connections over others:
-
Hardwiring the master bus to preserve precious Flock channels.
-
Temporarily forgoing the hardware de-essers, opting for plug-in alternatives.
Wiring Strategy
We prioritized flexibility without compromising on quality processing. Linear settings for master bus audio ensured our established signal chain operated flawlessly, avoiding potential I/O bottlenecks in the Flock XT.
Installation Unfolded: Processes and Adaptations
Refining the Master Bus
As we began to wire the studio, the focus was on maintaining the quality of our master bus processing without utilizing Flock XT channels unnecessarily. By hardwiring key elements—SSL’s Bus Plus, the Empress EQ, and Neve MBT transformers—directly, we retained their effectiveness while maximizing available channels.
Software Integration and Initial Results
Successfully implementing our plan also relied heavily on software to recreate these connections digitally. As we meticulously configured each component, the software recognized gear and routing seamlessly.
-
Simplified configuration for quick setup changes
-
Auditioning paths without signal interruptions
Decision Points & Finalization
Rethinking the Patch Bay Plan
Our intention was to initially test the Flock in a temporary layout. However, practicality—and the discovery of cable length issues—convinced us to make the setup permanent with the Flock mounted inside the rack.
Testing Performance and Addressing Concerns
Running comprehensive tests was essential. Following the setup, the Flock ran without overheating or expected fan noise, which was quieter than anticipated.
"Run time was extensive, yet the performance remained stellar, debunking fan noise myths and proving it's a robust addition for music producers."
Conclusion & Reflections
Our endeavor with the Flock XT has proven eye-opening. Not only does this installation expand our studio's functionality, but it also validates our commitment to providing you with honest, practical advice and insights. This successful install marks the beginning of a new era for how we facilitate mixing and mastering processes, with the potential for further evolution into even more sophisticated setups.
Thank you for accompanying us through this technical odyssey. For aspiring and established audio engineers alike, we hope you find value in our process and feel inspired to elevate your own studio experience with a similar hands-on approach. Stay tuned for more detailed guides and updates from the world of Flock Audio!
To discuss your audio projects or explore more about our studio work, visit Mixing Music Analog and connect with us. Whether you’re gearing up for an installation or looking to refine your sound, we're here to help.
Happy mixing and until next time!
Let us know your thoughts or follow up with questions in the comments section below.

